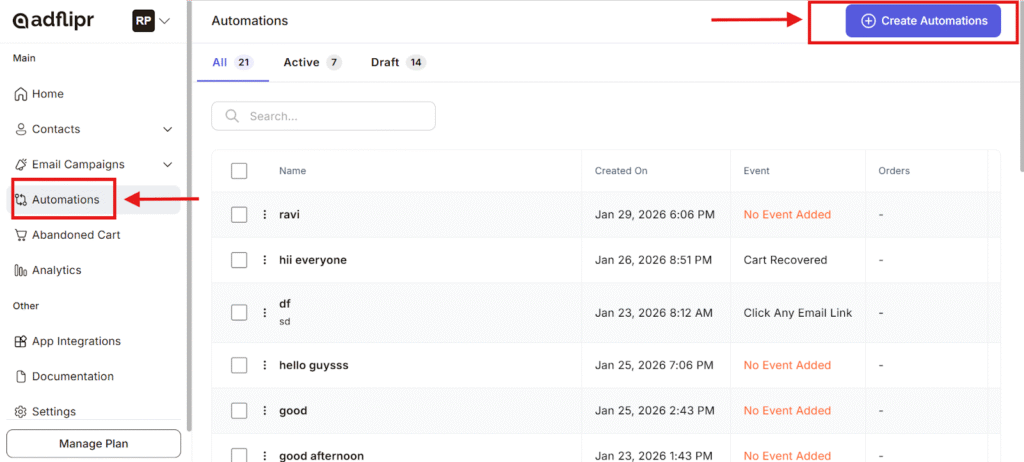
Step 1- Once you reach Adflipr go to the automation section locate and click on the “Create Automation” button to start building a new automated workflow that can streamline your tasks.
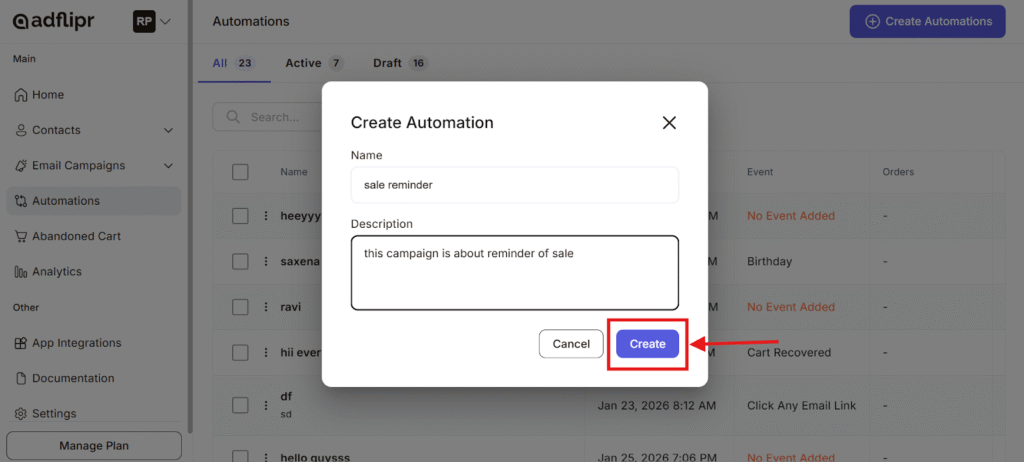
Step 2- Pop-up appears Enter a Name for your automation in the Name field this should describe what the automation does. Add a Description to provide more details about the purpose or behavior of the automation. Once you have filled in the required information, click the Create button.
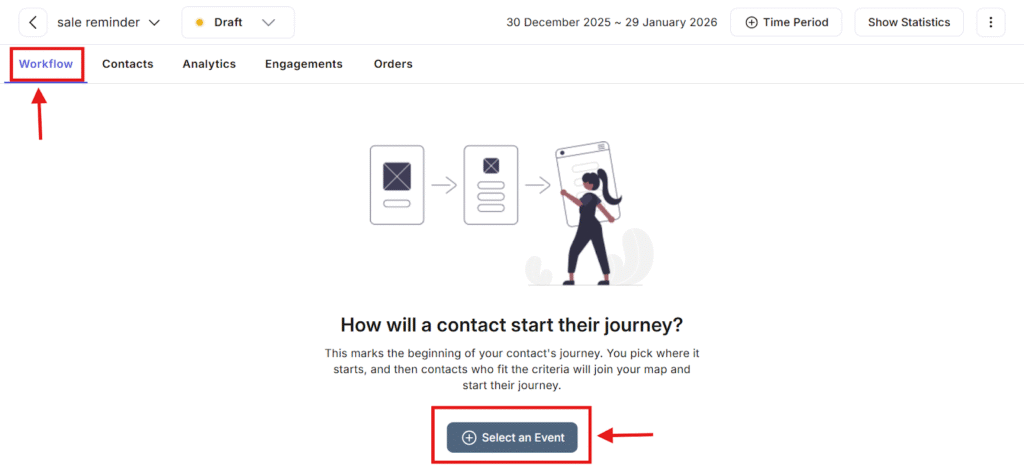
Step 3- In this step, you need to choose the trigger event that will start the automation. The screen prompts you with “How will a contact start their journey?”This indicates that no trigger has been selected yet.
- Click on the “Select an Event” button highlighted at the bottom.
- Choose the event that will initiate the workflow for example, when a contact performs a specific action or meets certain criteria.
Once an event is selected, contacts who match the defined conditions will automatically enter the workflow and begin automation.
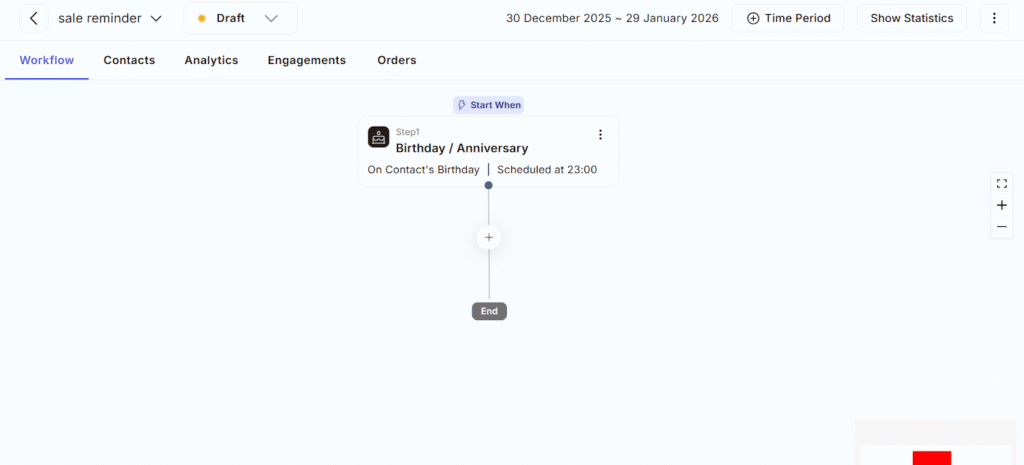
Step-4- This step is the trigger for starting the workflow. It starts the workflow based on your prepared event.
Available Add stop option:
– Send Email-Automatically send email to the contact that are predefined (e.g., birthday wishes, offers, reminders).
– Delay- stop the workflow for a specific time or duration before the next action runs.
– If / Else Condition- Split the workflow based on rules.
– Change Contact Status- Update the contact’s status inside Adflipr active, inactive, lead, customer.
– Add / Remove Tag- Apply or remove tags to segment contacts for targeting and tracking.
– Add / Remove to List- Move contacts in or out of specific lists for campaigns or automation flows.
– Jump Step- step up the workflow to another step useful for advanced logic.
– Exit- End the workflow for the contact at that point.
Step-5 After selecting steps the workflow starts. Adflipr will trigger as per step 1 you have chosen in your workflow and proceed to every next step you want to apply in your automation.
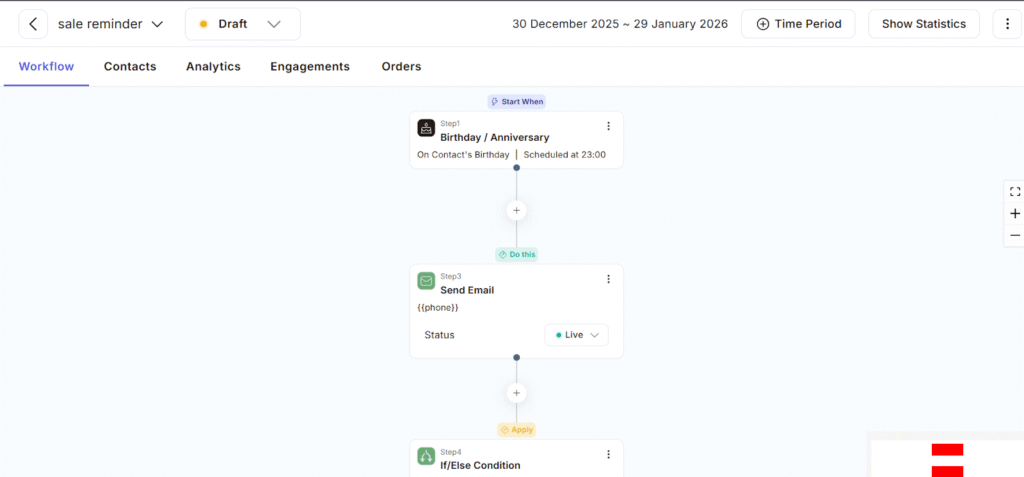
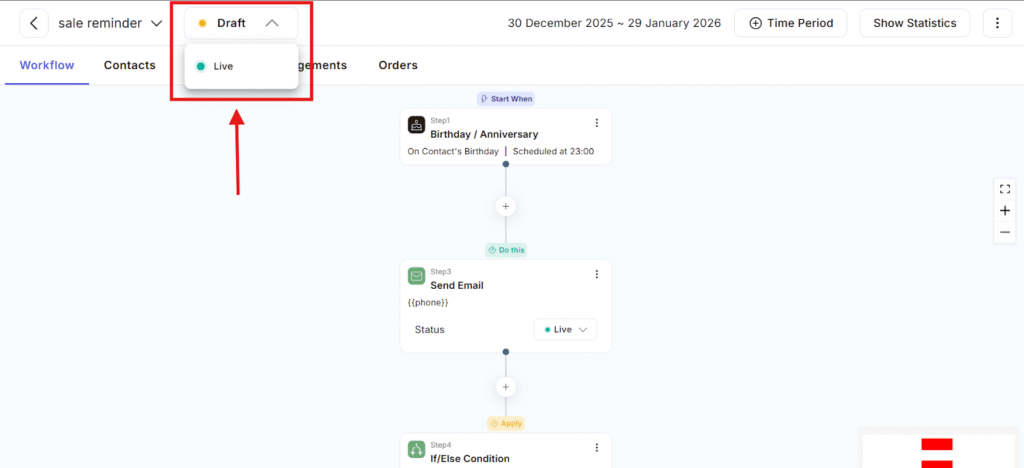
Step 6- After completing workflow steps as per your requirement. Click on the drop down arrow beside the draft option and click the live option to trigger automation.
As we’ve seen, the power of automation isn’t just in how fast it works. By following these easy steps you can trigger events and start automation with adflipr.